
The call of the wild
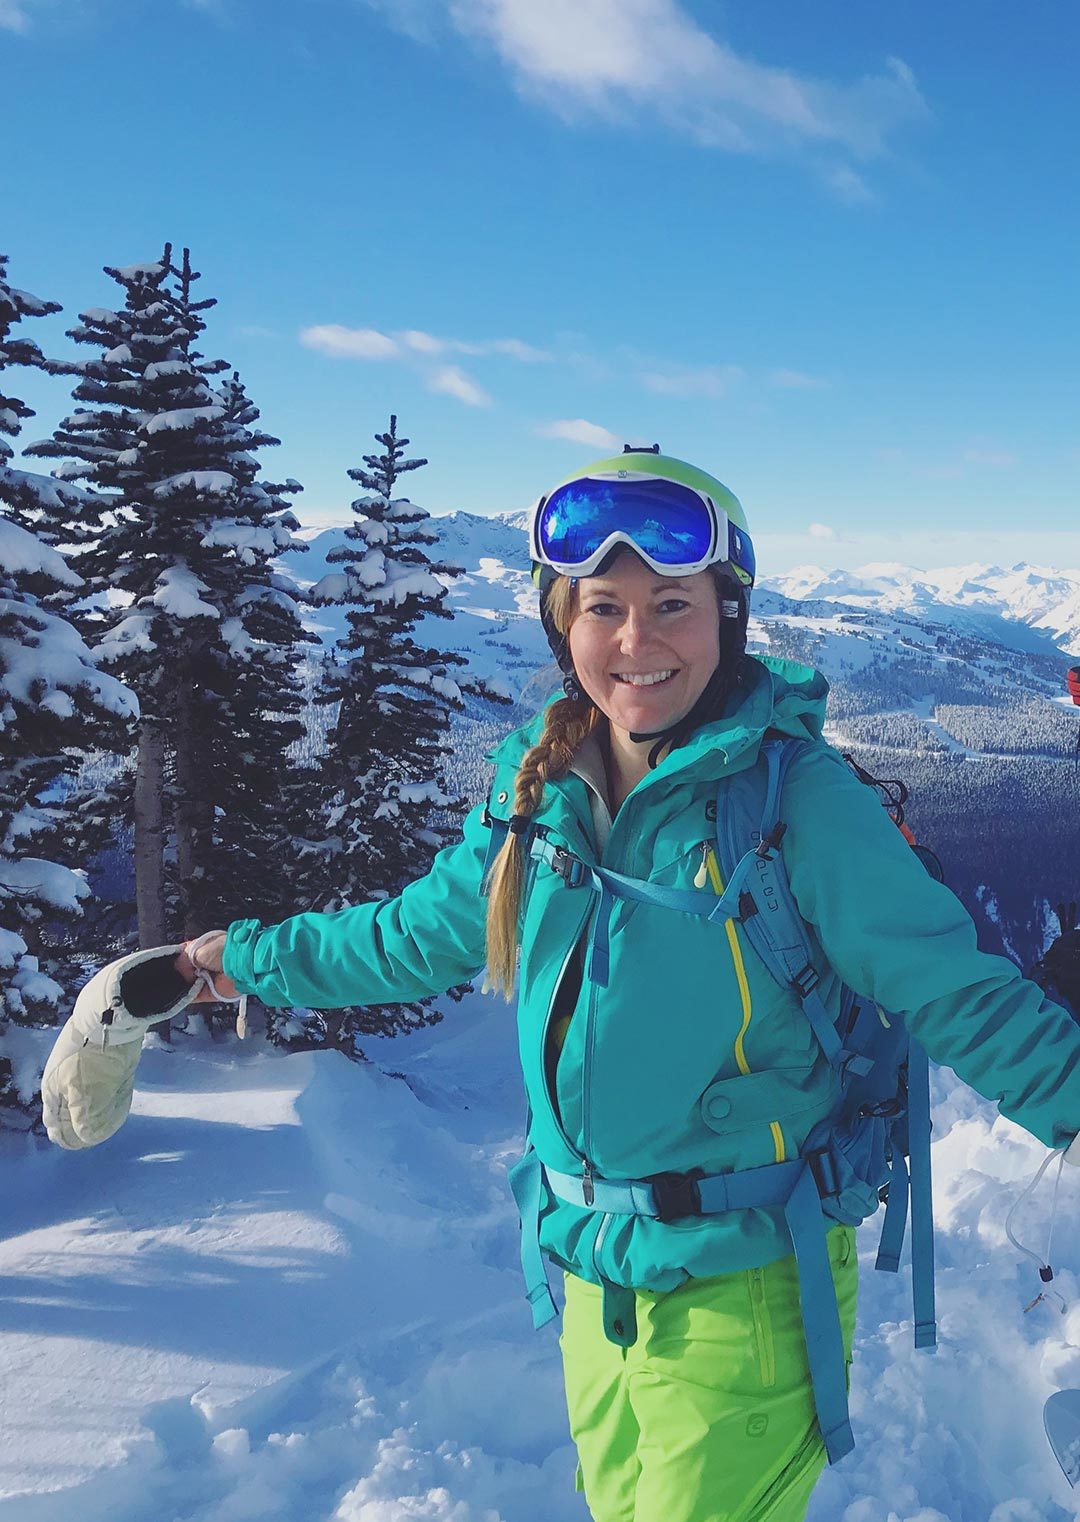
Have you been daydreaming about a fantasy land, where powder is plentiful and deep, lift lines are non-existent and freedom is boundless? Well, why wait any longer to get out there!
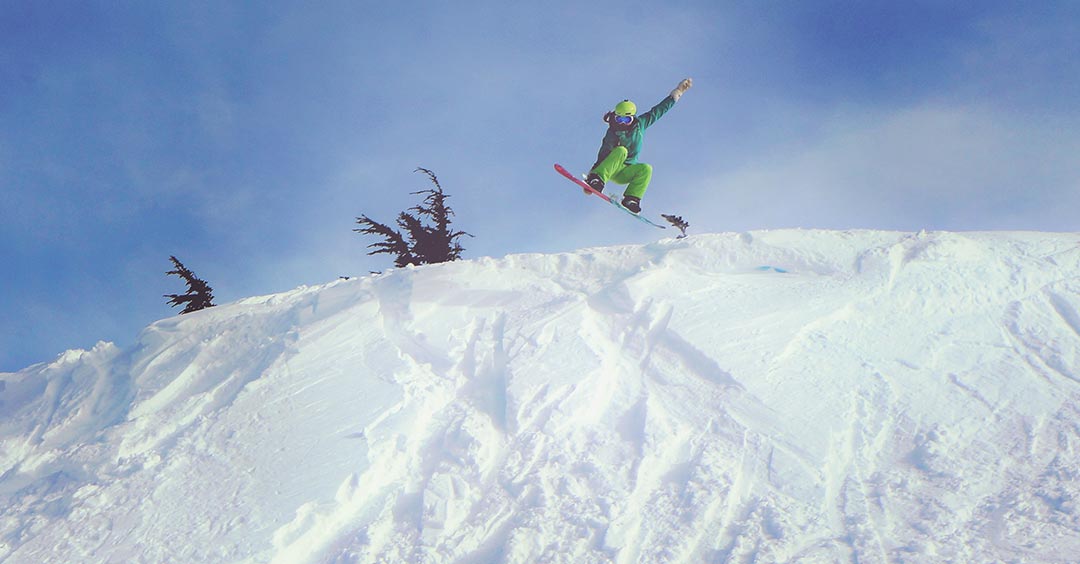
With increasing crowds and steep lift ticket prices, it’s no wonder people are dropping into the backcountry. Whether you’re seeking endless pillow lines, meditative off-piste runs, or just another way to adventure with your pals—there’s something out there for everyone.
Backcountry skiing and splitboarding is a thrilling and picturesque way to experience nature at its finest. But how do you get started? Where can you learn how to read the snowpack and choose safe lines in such dangerous terrain? What gear do you need? If you’re nervous about your abilities or how to get into backcountry touring, I’ve got some pointers.
Hold up whippersnapper, we need to have a chat!
Before we talk more about the fun-factor, it’s important to understand that you should only venture into the backcountry with proper gear and knowledge.
The backcountry is WILD! You should always use the buddy-system, carry an avalanche beacon, shovel and probe—and know how to use them! Backcountry adventuring requires you accept a certain amount of risk such as avalanches, sudden weather changes, falling rocks and crevasses. It requires you’re willing to take responsibility for educating yourself about these dangers and how to make safe choices. It comes with a responsibility to yourself, and to your friends.
Guide to Backcountry Skiing & Snowboarding
1. Take an avalanche skills course
An AST 1 is where you’ll start. You don’t need any experience to take this course, and there are several companies around who offer this program. In AST 1 you’ll learn how to recognize avalanche terrain and how to self rescue. It’s a minimum of two days training with both classroom and field components.
2. Know your skill level
When entering the backcountry you should have a certain level of skill, but there are options for intermediate level-skiers / splitboarders. You can ease your way into the backcountry by hiring a guide and starting off in easy-to-access terrain known as “slackcountry,”—these equally risky areas offer more mellow-elevation slopes, that are easier to access and typically have easier line choices.
3. Essential gear for the backcountry
The three most essential backcountry items are a beacon, a probe, and a shovel. The beacon is a transceiver that allows you to search for someone who is buried in an avalanche, and it allows others to search for you. The probe is used in an avalanche rescue. The shovel is for snow-pack analysis and to excavate skiers in the event of an avalanche.
Before you consider the rest of your equipment, think about what terrain you’ll be skiing and what factors are important to you. Are you looking to charge hard on expert lines, head up with friends to some low-terrain playground areas, or do you want a setup that you could use at the resort too?
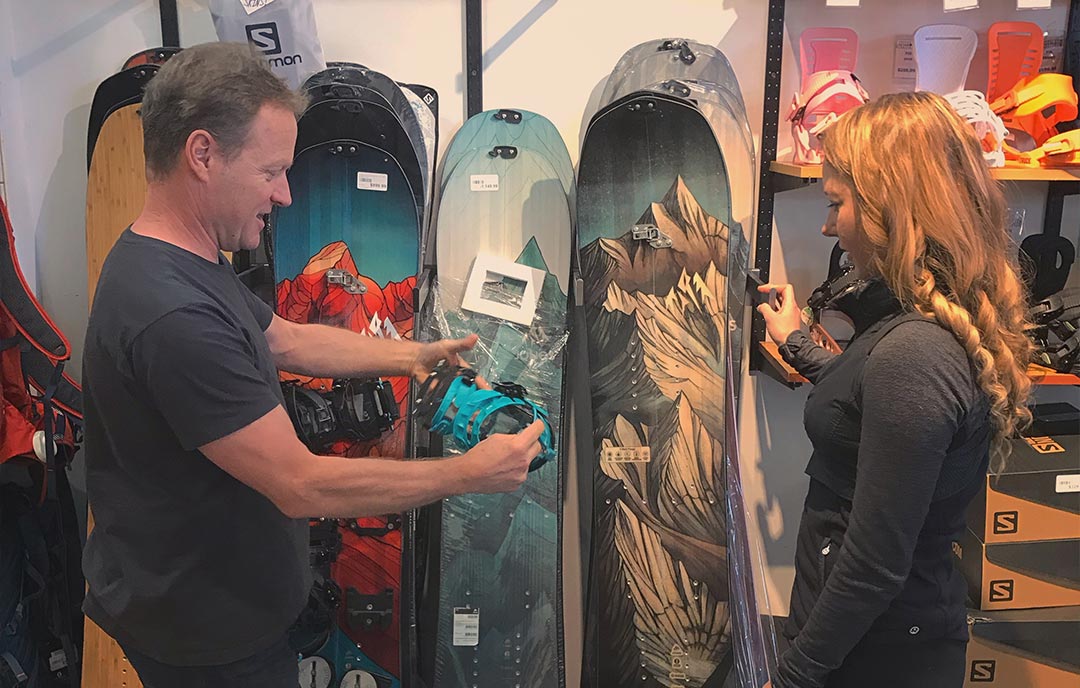
4. Find a knowledgeable ski shop
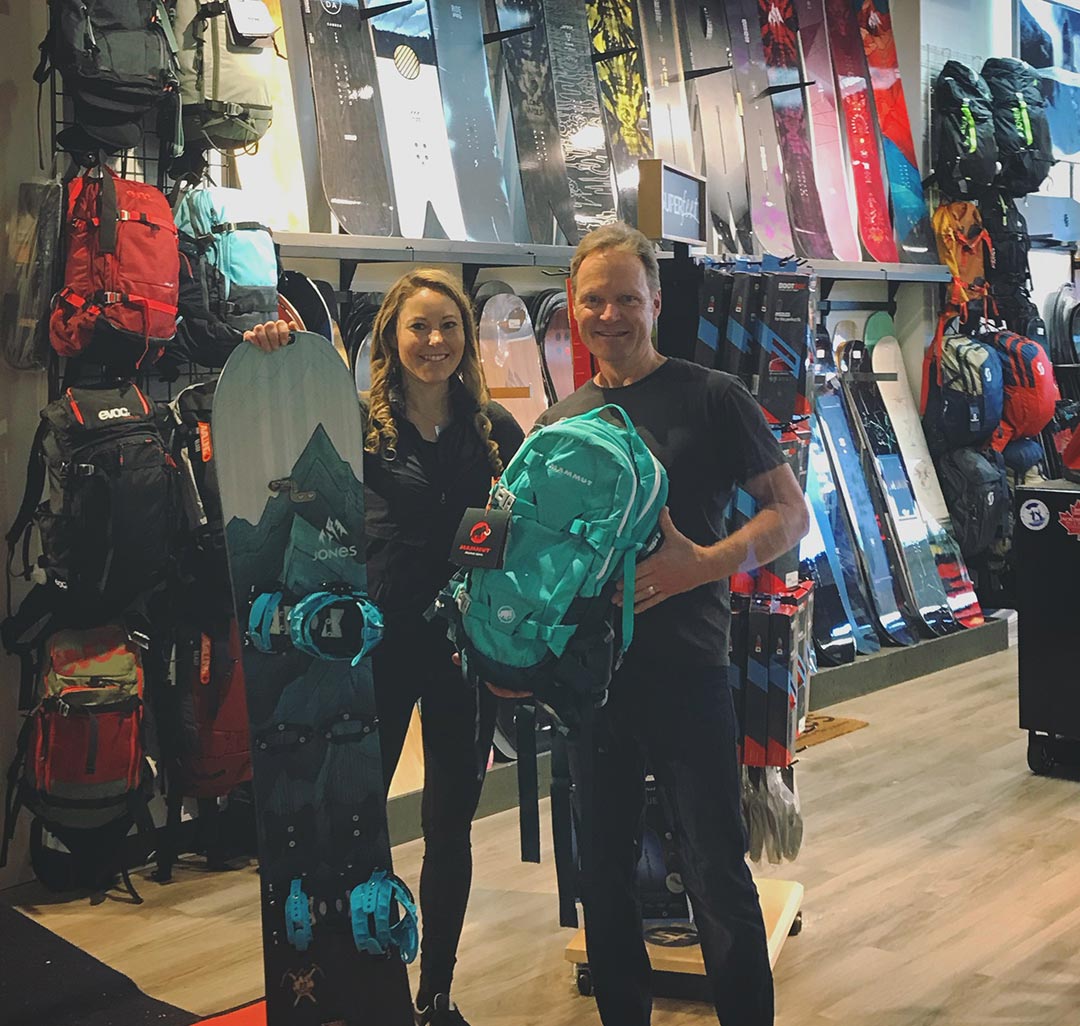
Talk to someone who knows the gear, and who you can trust. A specialty shop like North Vancouver’s favourite North Shore Ski & Board can offer all the different variations of skis, splitboards, bindings, boots, beacons and gear; and they will provide insightful knowledge—without pressure.
Be honest
When talking to the shop, be honest about your skill level and knowledge. There is no shame, wherever you are at. With a lot of different gear to choose from, there’s no one-size-fits-all solution. The more the shop knows about you, the more likely you’ll get a great setup and won’t have to sell stuff the next year because it wasn’t right for you.
Consider the investment
Buying a backcountry setup is a considerable investment, and you must have certain gear to go into avalanche terrain. Before you even think about skis or split boards, you need your AST 1 course which is about $300, an avalanche beacon $350+, probe $70, and shovel $70. The cost of a backcountry setup all-in with beacon, probe, shovel, skis, bindings, boots, poles, skins and a good backpack, could easily run you $3,000+ bucks. But hey, the good news is that once you have your setup, there are no lift ticket fees or $30 sandwiches at the chalet!

Backcountry Checklist
- Avalanche Beacon
- Probe
- Shovel
- Backpack
- Skis (Touring skis designed specifically for backcountry use usually lighter in weight)
- Splitboard (Splitboards are snowboards that can be divided into two to be used like skis for climbing with skins)
- Skins (Pre-cut or ready-to-cut sections of plush material that stick to the bottom of your skis and allow you to travel uphill without sliding back down.)
- Bindings
- Boots
- Poles (Collapsible for splitboarding)
- Helmet
- Jacket / Pants
- Insulating layers
- Gloves (extra gloves for varying weather)
- Food
- Whistle
- Emergency Essentials
- Airbag (An optional added piece of safety)
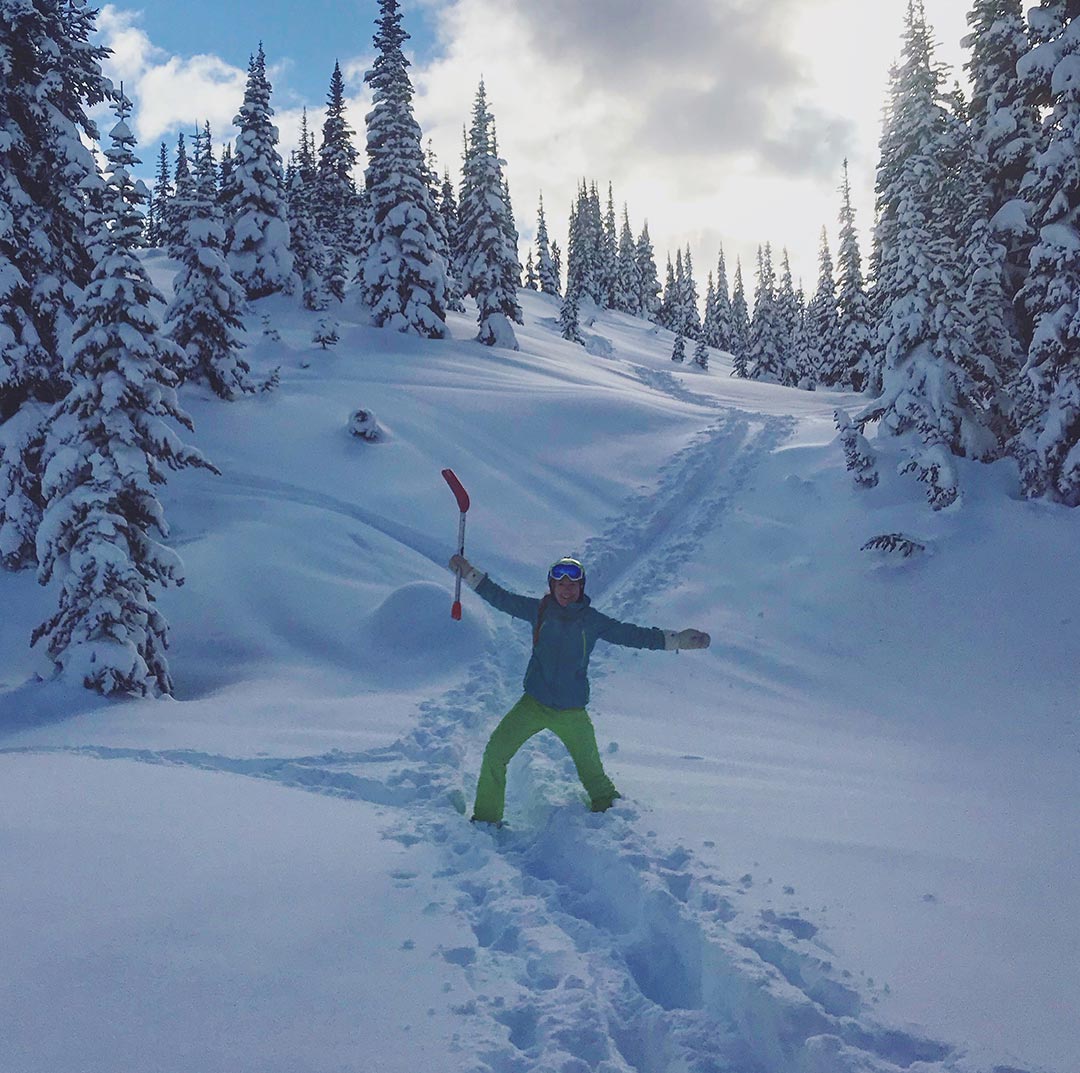
5. Practice makes powfection!
Now that you’re ready to drop into the backcountry, it’s the perfect time to connect with other powder-seekers and get some practice. If you find yourself in an emergency situation, it’s common for your “fight or flight” mode to kick on. This natural human response is an instinct that could lead you to make very unwise decisions, especially in a large group of people. The best counterattack for this is to practice; practice until it becomes second-nature.
Great ways to practice your skills:
- Check the Avalanche Canada website regularly
Get familiar with the changing conditions - Join a group or find a mentor
Check out South Coast Touring - Hire a guide
Guides are great for showing you the ropes! You can explore off-piste with freedom and the added confidence to attack idyllic pow-runs—without getting into trouble.
*Check out Mountain Councell for private, fully customizable ski trips. - Get some extra skills
When you’re miles from help, knowing things like first aid and building a winter fire can go a long way in the event of an emergency. - Continue your Avalanche Skills Training
Now that you have AST-1, why not keep going with your education and take AST-2!
![]()
A big THANK-YOU to Brett at North Shore Ski & Board for the unbelievable service and setting me up with the essentials!!
Head over to the shop and chat to these guys about your backcountry fantasy’s, they’ll be sure to help you make the next step with confidence 🙂
1625 Lonsdale Ave. North Vancouver, BC | (604) 987-7245 | northshoreskiandboard.com


No Comments